My mum asked me to make some placemats for the kitchen table, in some fabric leftover from when she made the kitchen curtains (sewing runs in the family!) I bought some interfacing and bias binding, some matching thread, and the leftover fabric... And got to work!

I measured the desired size of the placemat and used a pencil to draw it onto the interfacing. I then cut these out using normal scissors (as opposed to fabric scissors, which could be damaged by the interfacing backing).

It was iron-on interfacing, which has an adhesive backing on one side. I ironed it onto the fabric before cutting them out, to help keep everything the right size. Once it was stuck to the decorative fabric on one side, I cut that out, laid it out on top of some more fabric and cut that side out too. You could use different patterns of fabric, but I chose not to, as the whole idea is that they should match the curtains.

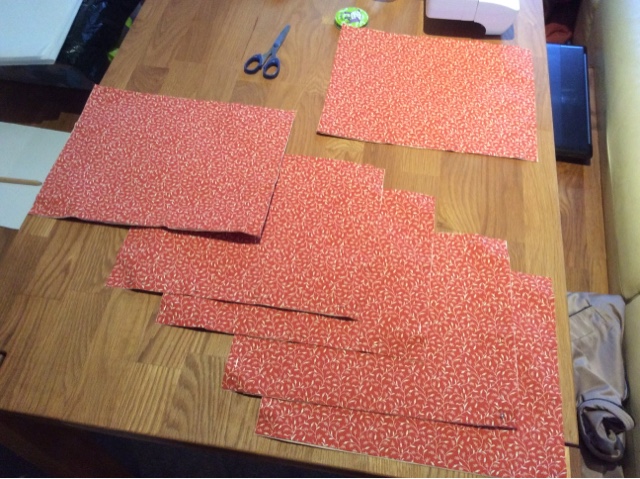
I repeated this until I had the required six placemat pieces.
To hold the three layers together, I used a straight stitch on the sewing machine and sewed regular diagonal lines across the placemat.

At this stage, the main body of the placemats were complete. The next stage was to do the edging, for which I chose to use bias binding. This is cut on the diagonal and you can make your own, so that it identically matches your fabric. But that is time-consuming, so I chose the easier option of buying it in a coordinating colour.

I folded the bias binding along its length, to allow me some idea of where to sew it to the fabric. The first line of sewing bias binding involves machining along the unfolded edge, all the way round the edge.

After going all the way around on one side, you flip over the mat, fold the binding into place, and then sew it down along the folded edge. You can do this by hand, if you want a super-perfect finish, but it's very time-consuming. I believe better to sew it neatly and carefully, so that its tidy on both sides, even if visible.

Corners are particularly difficult...

Then all that is left is to sew the ends down by hand...

And they're finished!
