Wednesday, 23 July 2014

Amend: Pink Dress Waistband

I bought this dress from TK Maxx about four years ago, but haven't really worn it the last few. It had an empire line under the bust, which got a bit cake-layer-like in recent years.

 
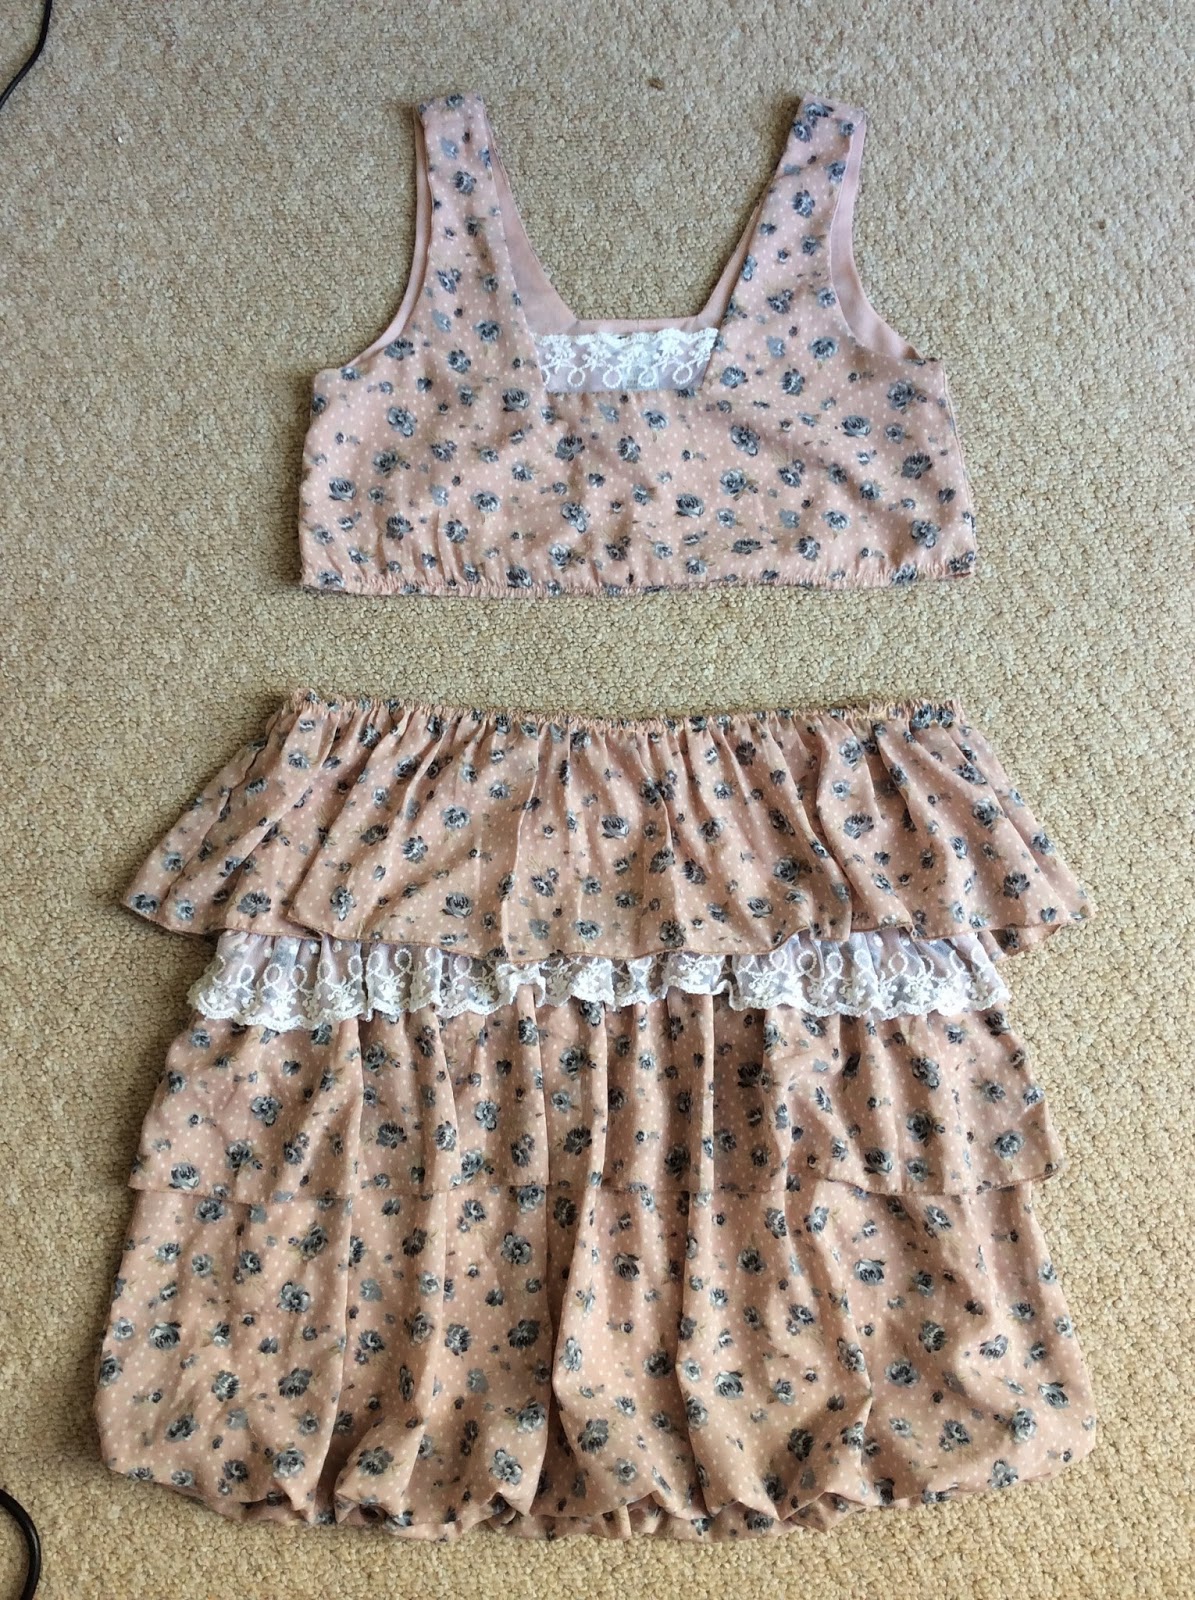
I merrily unpicked the top and bottom, with the idea of putting a cream/white waistband in the middle. That was before I realised that each piece was actually gathered and elasticated, meaning suddenly the dress was HUGE and it wasn't going to be the simple job of just putting a straight waistband in.
 
 
 I cut out two strips of cream fabric, doubled-up to stop it going see-through. I felt that using just one strip of fabric, with a seam at the back, would make it very challenging to fit the piece between top and bottom. With two strips, I could adjust each side-seam to make it fit snuggly.


Normally I'm a pin-it-and-hope kinda girl, going straight from pins to sewing machine without bothering to tack it in place. But with the stretchy, slippery, multi-layered nature of this dress, I thought tacking would probably be recommended!
 
 
Tacking involves using running stitch and a contrasting thread to hold pieces together before you commit them to the sewing machine. It's better than pins because it holds the whole seam in place, but time-consuming to do. That said, combined with some CSI, this seemed to go in very quickly!


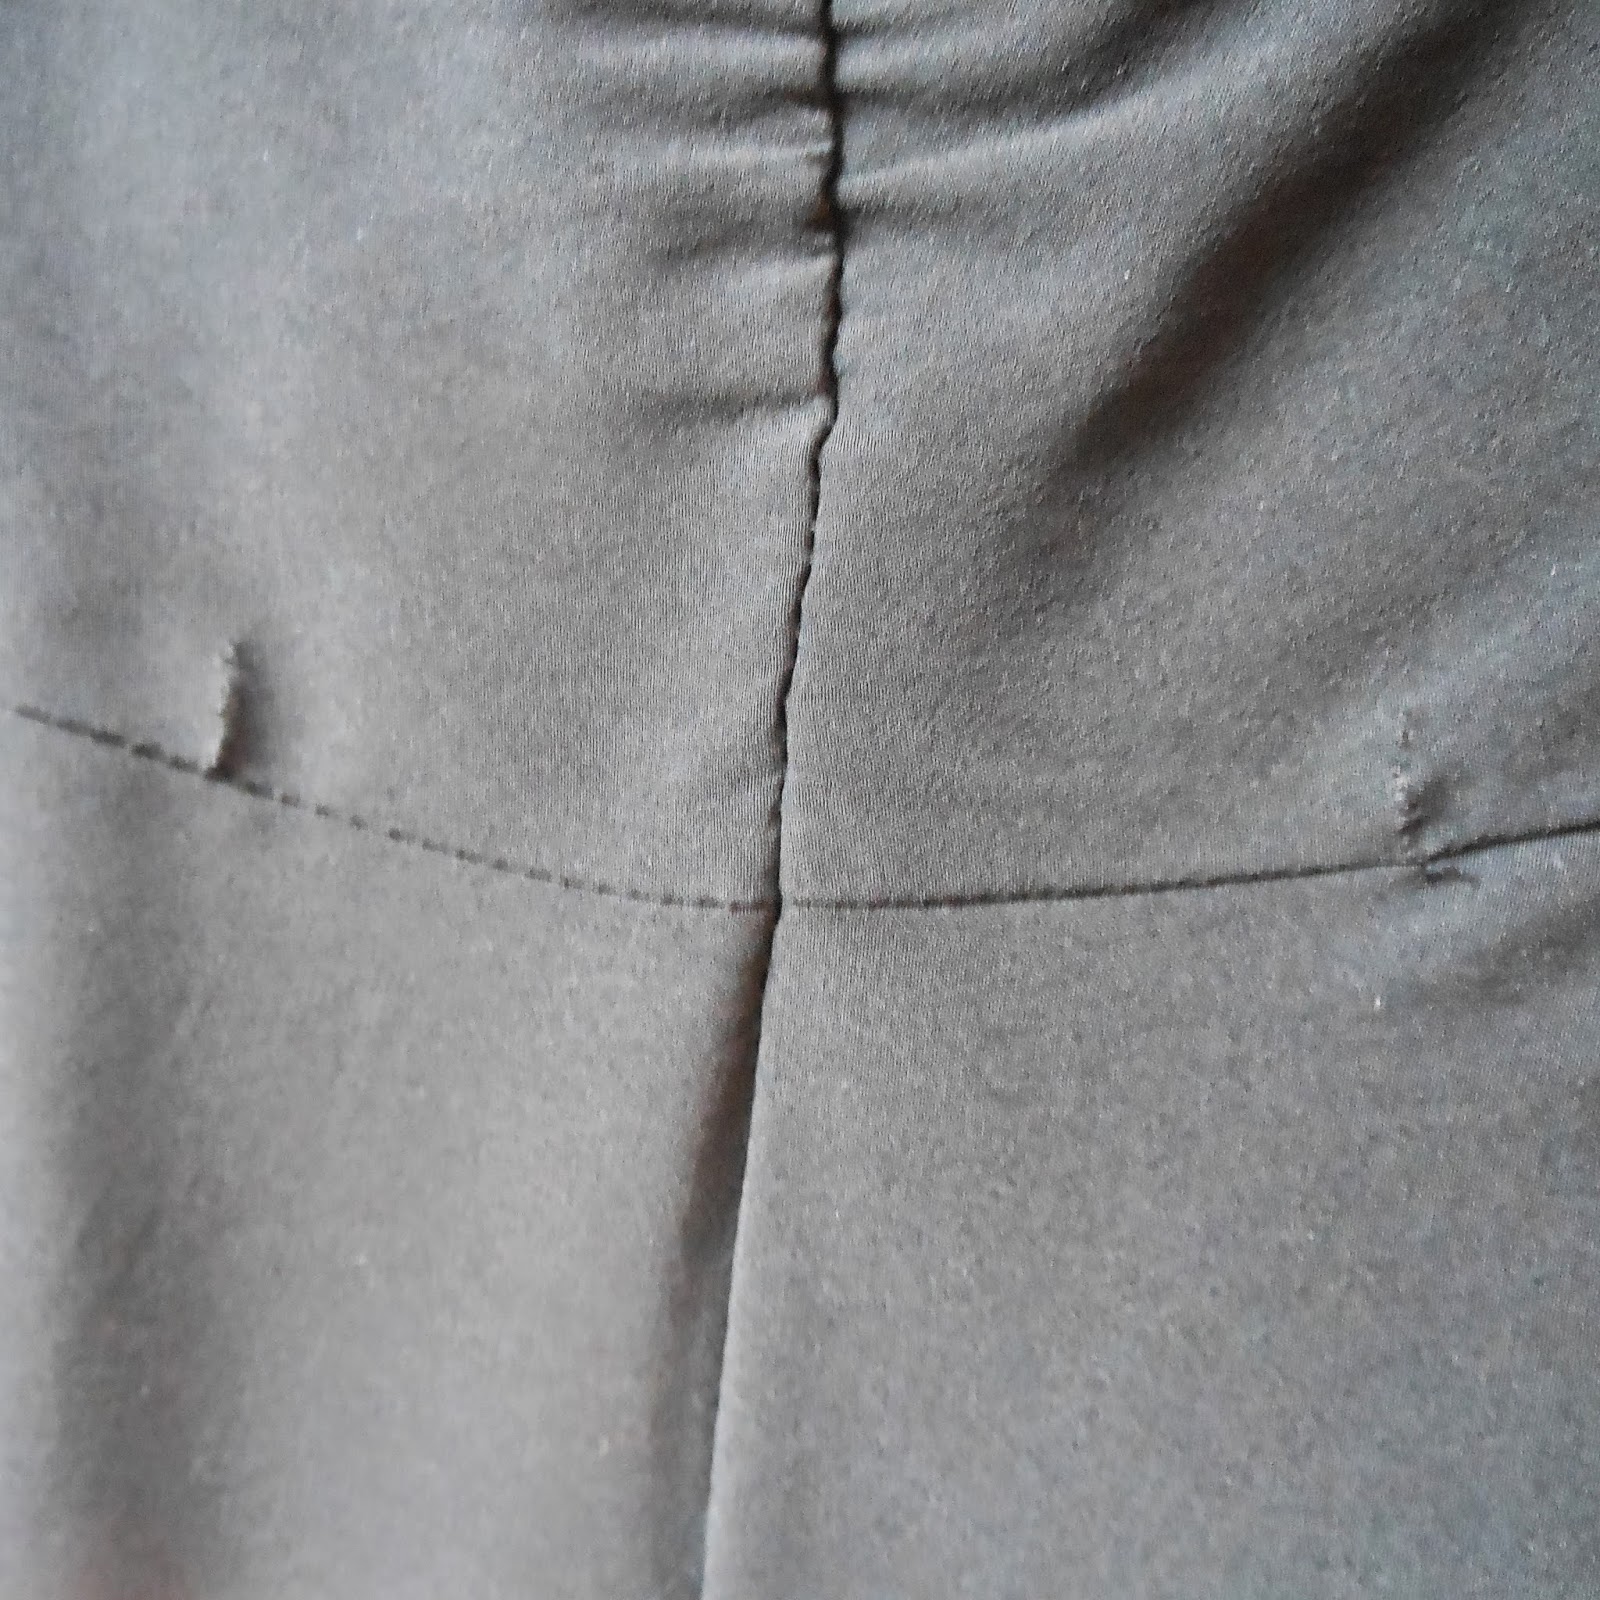
Once the first half was attached, I repeated the process for the bottom half. This gave me the desired waistband, but it was a lot wider than I needed or wanted it to be.

So I repeated a method used on another pink dress I wrote about. Clearly I have numerous badly fitting pink dresses - but not any more! I used shirring elastic to give the waistband some stretchy flexibility and to improve the fit.

 
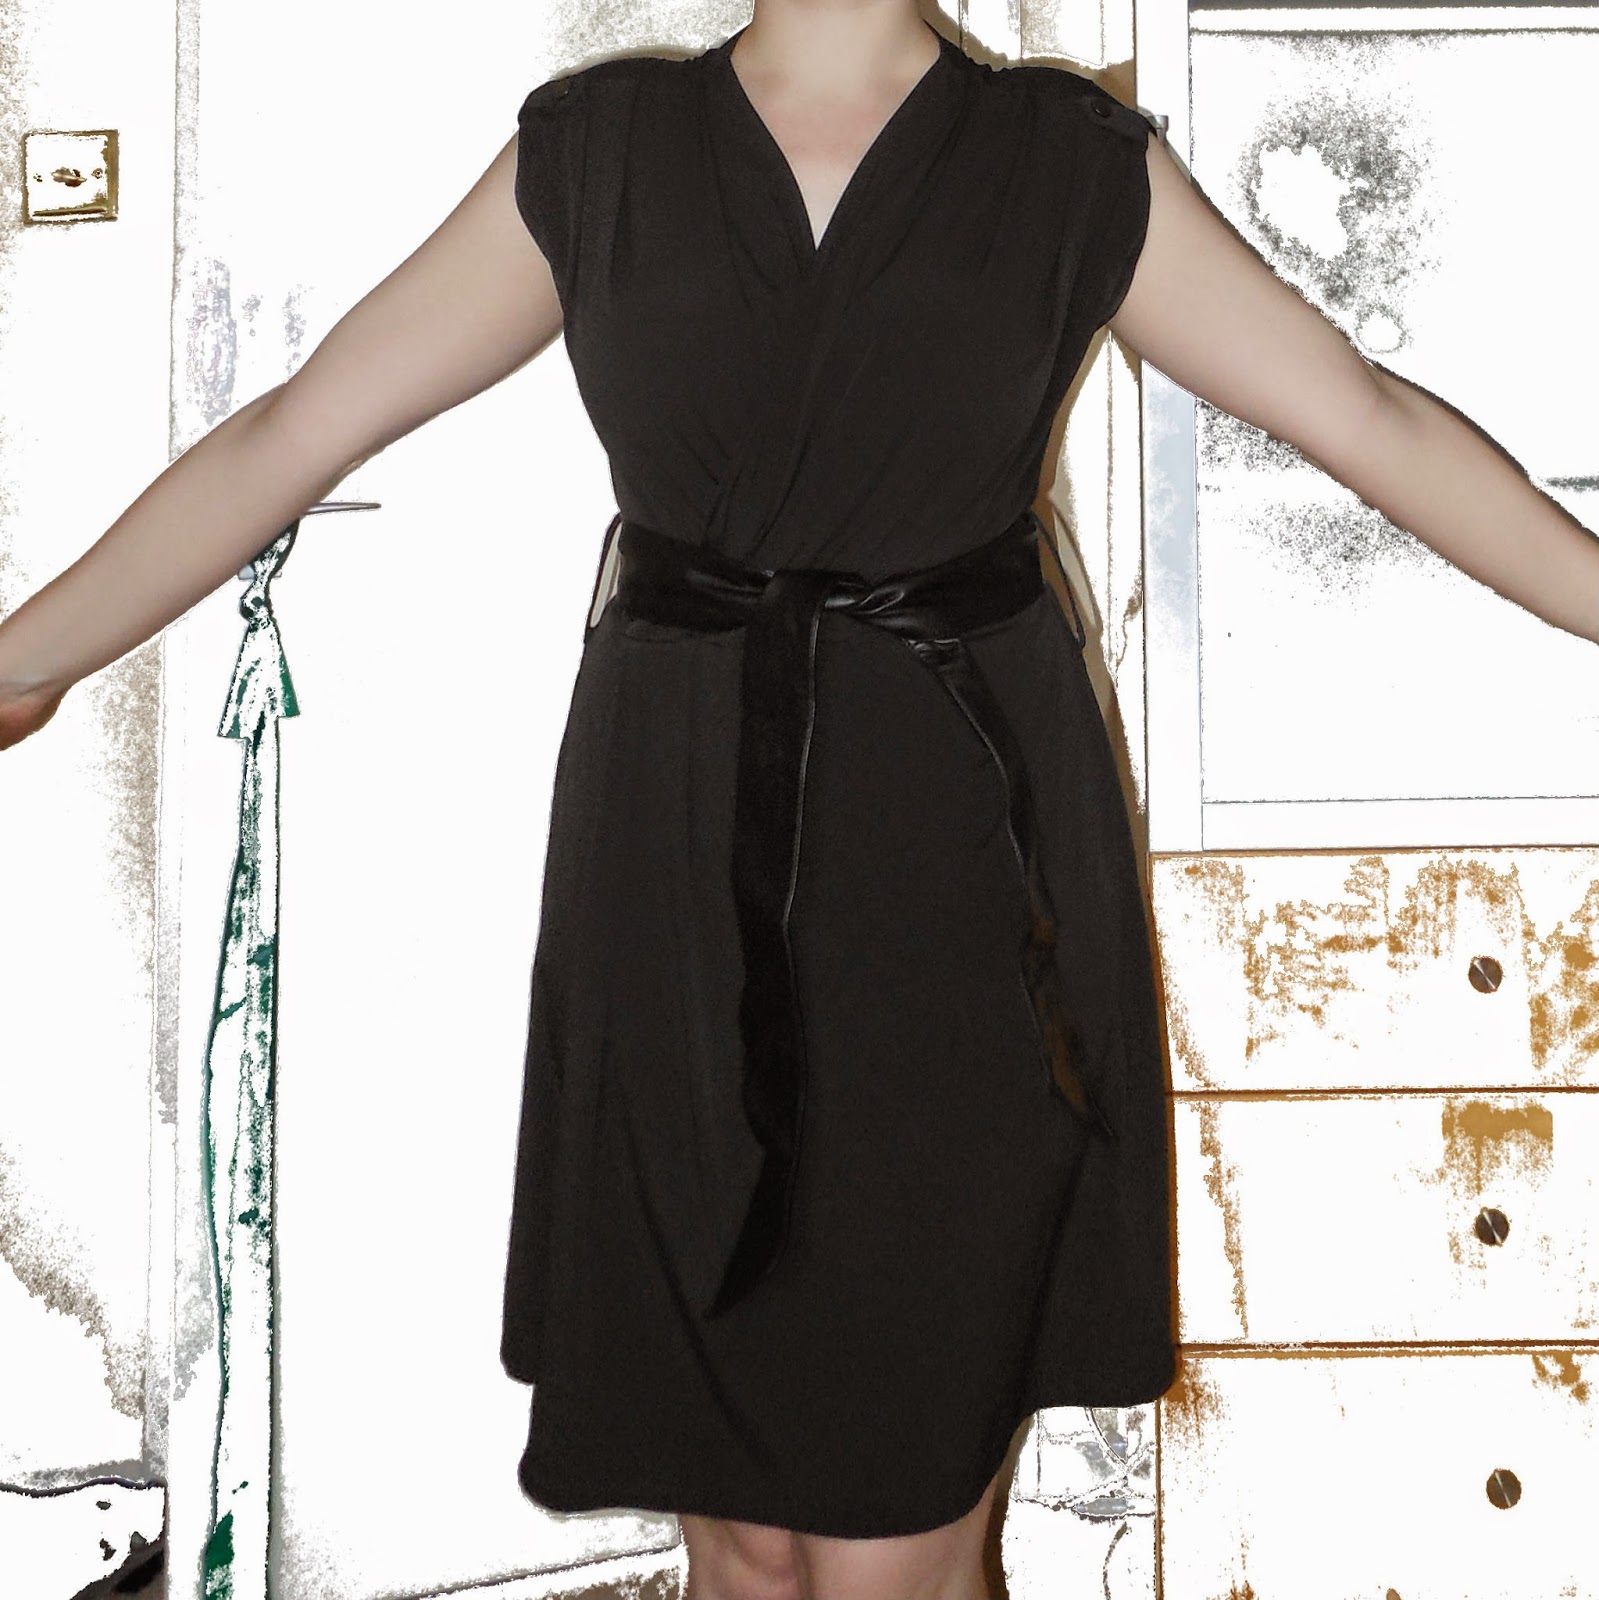
I really LOVE the final results of this dress! The shirred waistband gives me back my waist, holds the dress nicely in place and the added length makes the dress a more manageable length.
 
Success, and another dress added back into the summer wardrobe!


Saturday, 12 July 2014

Make: Invitation Video

It was 8pm on a Friday night.

The boyf was away on a stag weekend, so I had the flat to myself - an excellent time to invite the girls round!

Some people would've simply sent a FB message, but I decided to get a bit more creative...

Unfortunately I think you can only see this if we are FB friends, but let's have a go anyway!

CHECK IT OUT!

Be. There.

Tuesday, 8 July 2014

Amend: Belt Loops

This is a dress from H&M, 100% polyester, that I've had for a few years. It came with a faux leather belt, although looks good with elasticated belt, too.


The problem is that it has some overly large belt loops. These are seemingly pointless - it's not like they're needed to hold the belt in place. Without the belt loops, it would also be possible to wear the dress without any belt at all.


This wasn't a fancy Amend, I simply used my unpicker to gently undo the stitches holding the two side and two back loops to the dress. Unfortunately this has left behind some slight stitch marks, although I'm hoping these will come out a bit when washed.


Wednesday, 2 July 2014

Shop: New Knitting Bag

Somehow I ended up on the John Lewis haberdashery sale website and, I don't know how his happened, but a few days later, this arrived at my desk...


Oops.

Sunday, 22 June 2014

Make: Secret Knit

This weekend, I picked up the knitting needles again for the first time since January. No, the crochet blanket isn't finished, but I'm making something secret for a friend. Of course, that means no pictures for now, but they will follow later, after the grand unveiling!

EDIT

And here it is, the final blanket! They are bias-knit rainbow squares, all put together into a baby-size blanket. I love this pattern so much, don't be surprised if you see me make one for myself at some point...


Friday, 13 June 2014

Update: Tetris Blanket

I'm at home-home visiting the 'rents this weekend, so not much craftiness going on. In the absence of a finished Focus Project, I thought I'd offer this picture of my Tetris wool-rainbow!


I reckon I could get a maximum of 16 squares from each ball, meaning I can have, at most, four of each Tetris shape, so I've drawn out a pattern for that many. However I think that might finish with a MAHUSIVE blanket...


The squares are each about 9cm so 10 x 16 squares would be... 90cm wide and 144cm long, and that's without any border... Too big? Or suitably snuggly?

Sunday, 8 June 2014

Make: Tetris Blanket

A friend sent me this link a while ago to Fluffy Owl's crochet Tetris blanket. Since I taught myself how to crochet in March this year, this really appealed to me.

I drew myself a pattern involving seven rainbow shades, bought some cheap acrylic wool from Wool Warehouse and adapted  Little Tin Bird's solid granny square, and set to work on the 180 squares I was going to need for the pattern.

Watch this space to see how it progresses!