Thursday 24 July 2014

Amend: Maxi Dress

The subtitle for this blog post is: "Boob Shot"


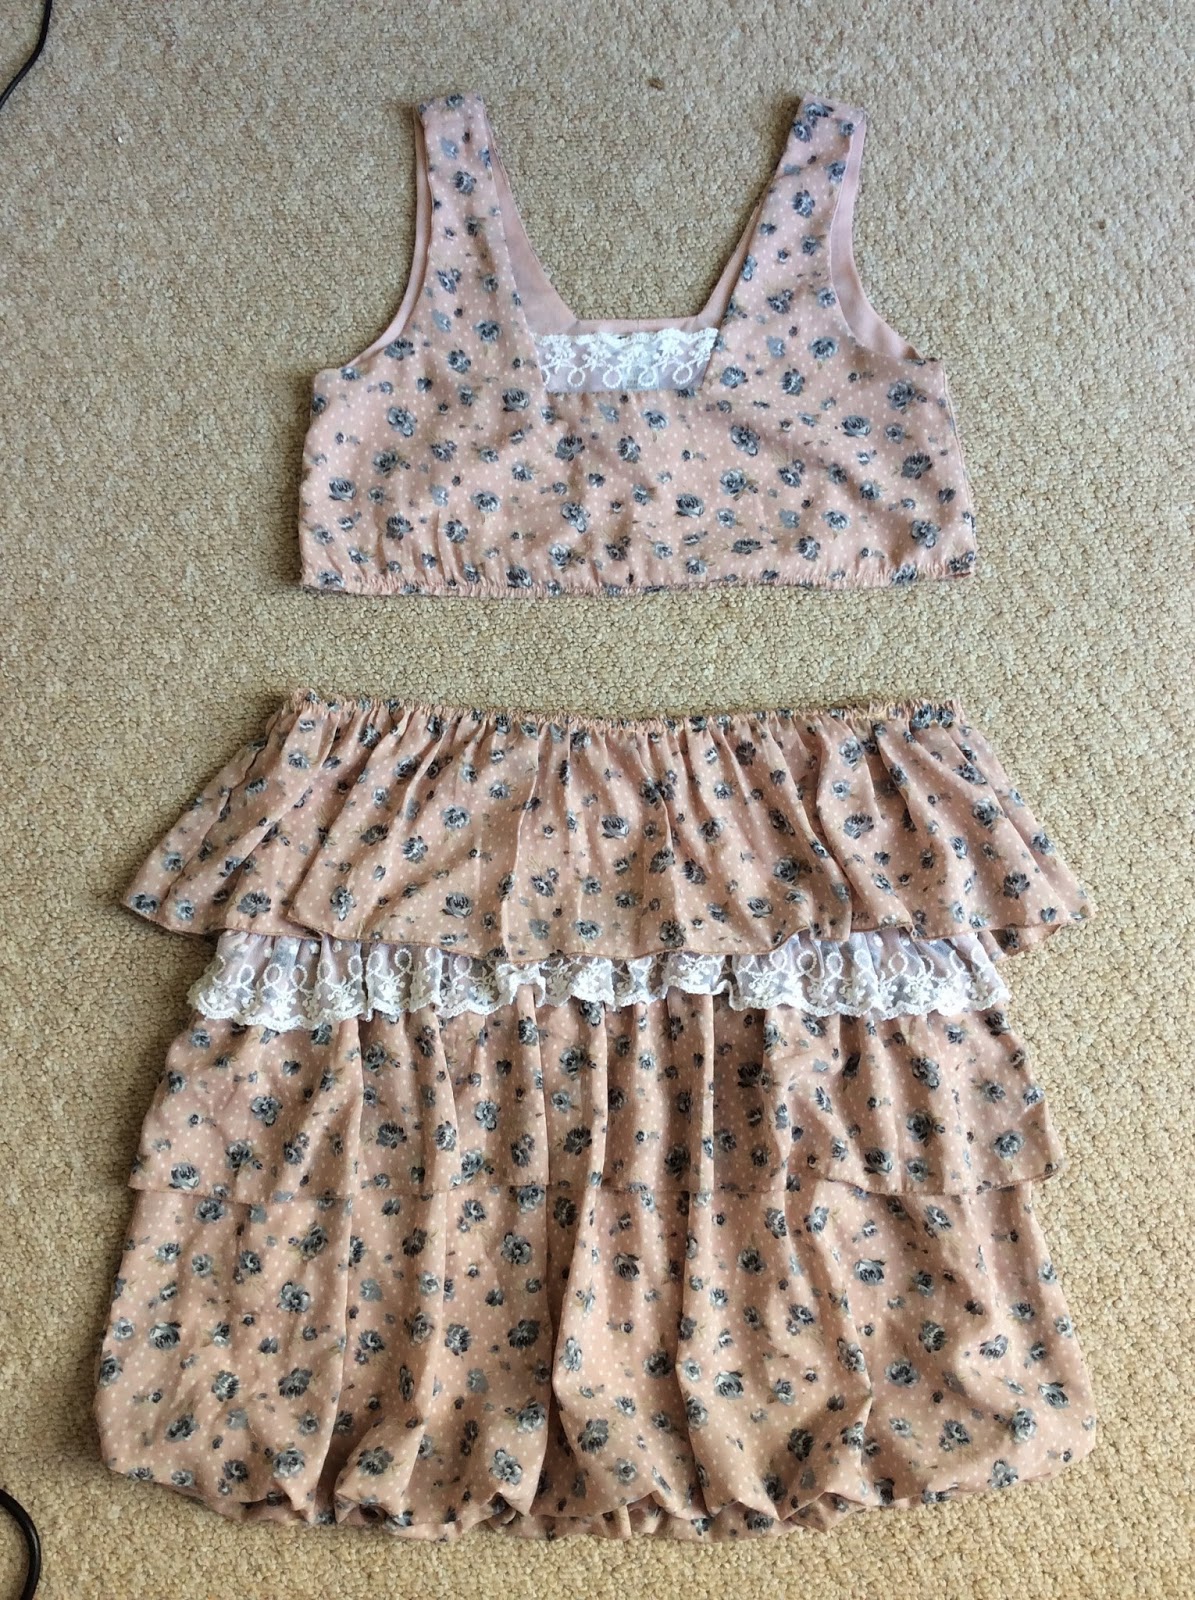
As you can see from one of the pictures, I bought this dress in the sale at River Island, for once only a week ago. I needed a dress for a wedding, and I was drawn to this by the stunning colours.

 
I normally fit somewhere between a UK size 10 and 12. I think a size 10 would actually have been a perfect fit, but this dress is actually a 12, mainly because they didn't have it in size 10. As such, it is pretty gape-y from the side (Boob Shot #1).
 
I decided that bringing the side seam in about an inch on either side, and putting a small dart on the bust, would make the dress fit a lot better. 
 
A dart is a way of tailoring a garment so that it fits better by creating a small tucked seam on the inside and sewing it in place. You get them in loads of different places: trousers (allowing for a narrow waist, but more voluminous front); dresses (to fit the back or waist); and, as here, to shape the bust of a garment.
 
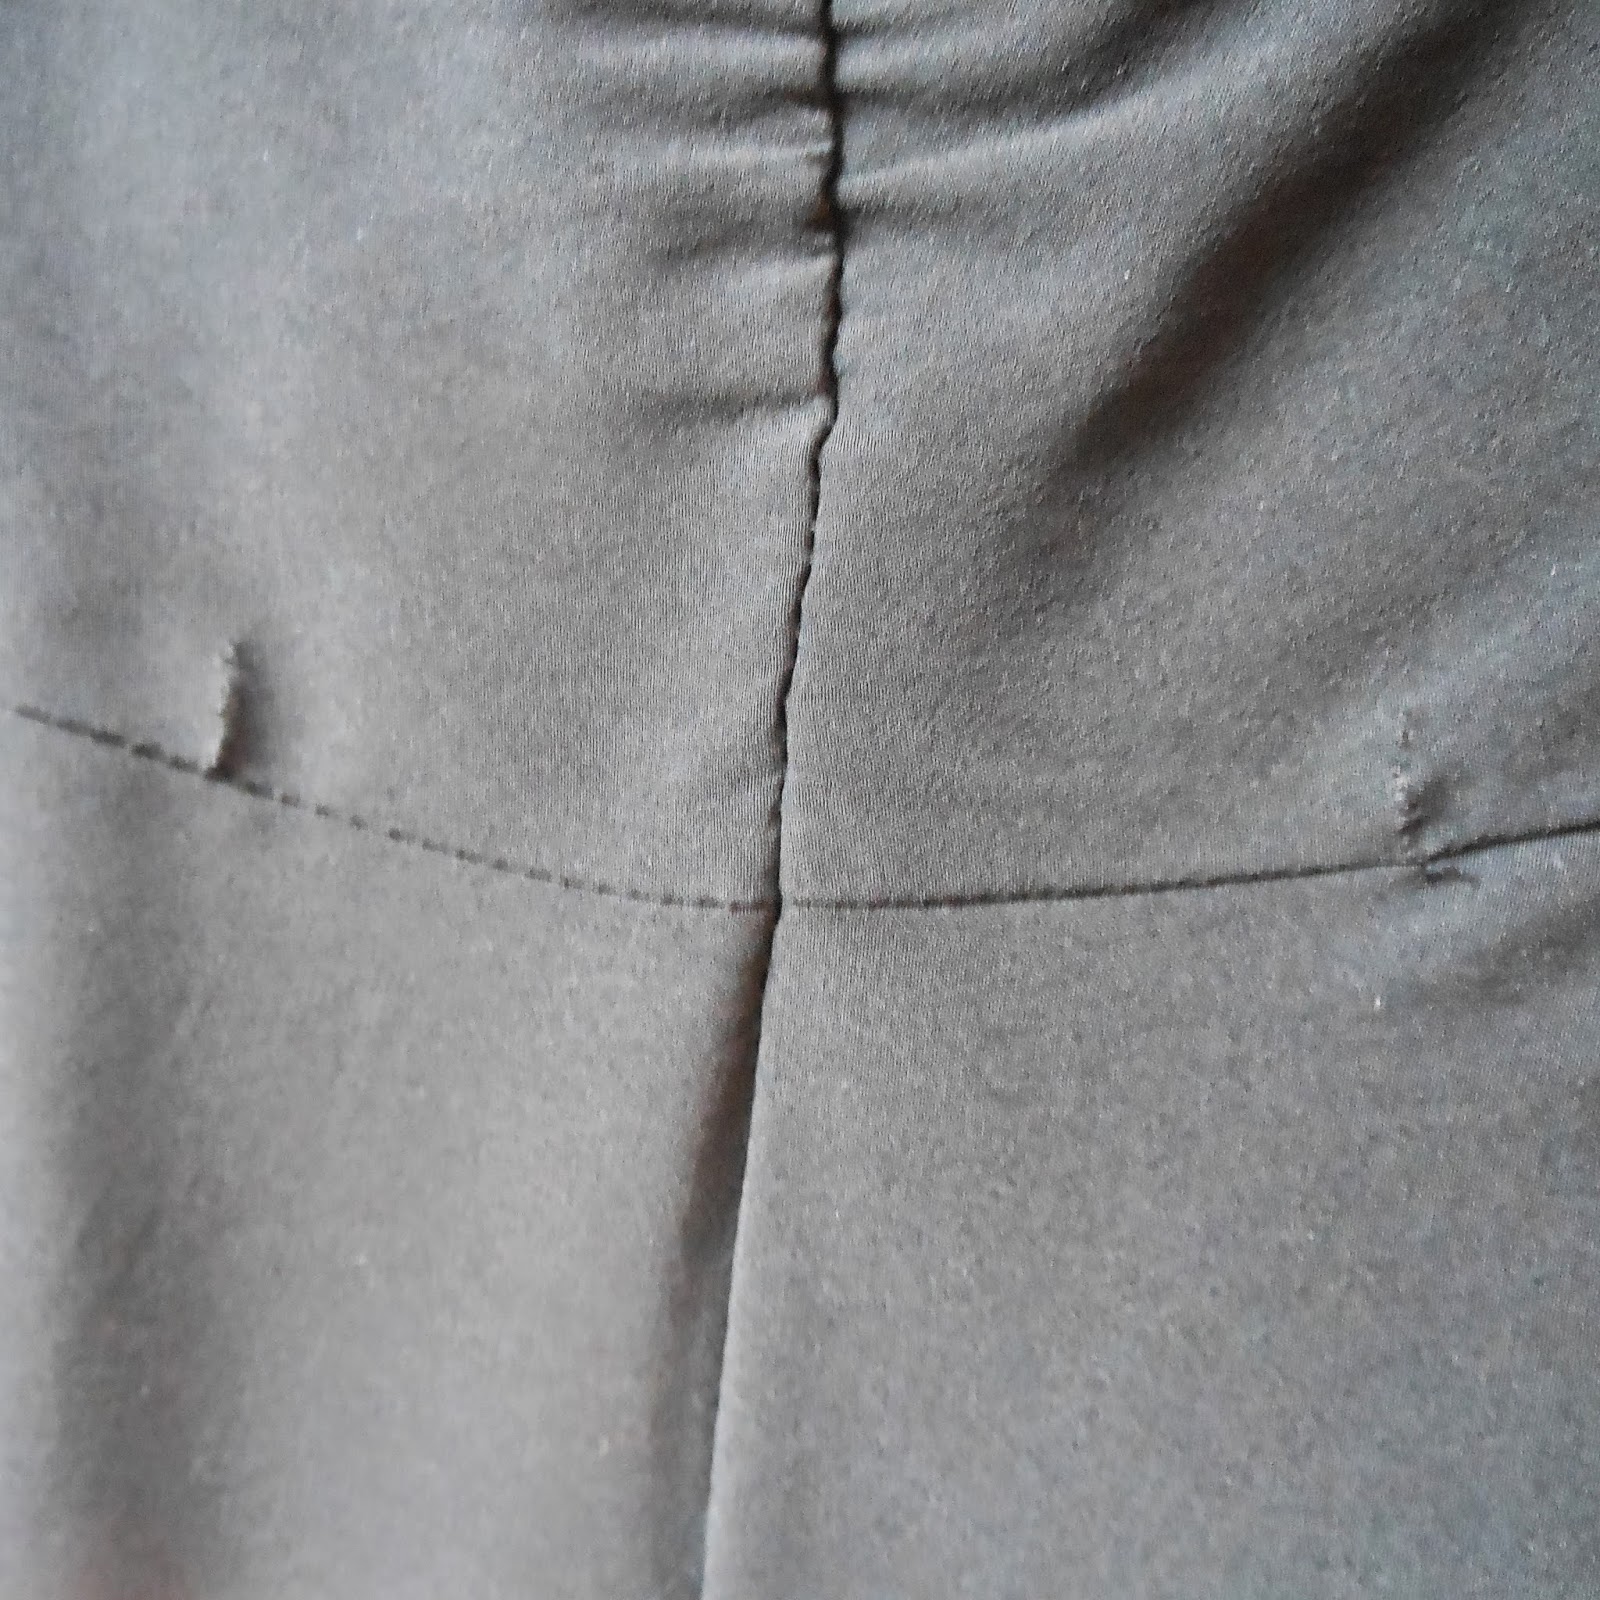
The fabric is double-layered (and the seams were short) so once again I cracked out the tacking thread. It's not hugely clear in this picture, but the red thread marks out the narrower side seam and small dart. I put one of each on either side of the front of the dress.
 
 
After tacking, I rustled up the sewing machine, whacked in the four new seams, whipped out the tacking thread and tied the threads off. And that was about it.
 
If you were getting this done professionally, it would be a more complicated job. But I prefer a rough and ready approach, as long as it doesn't show on the outside.
 
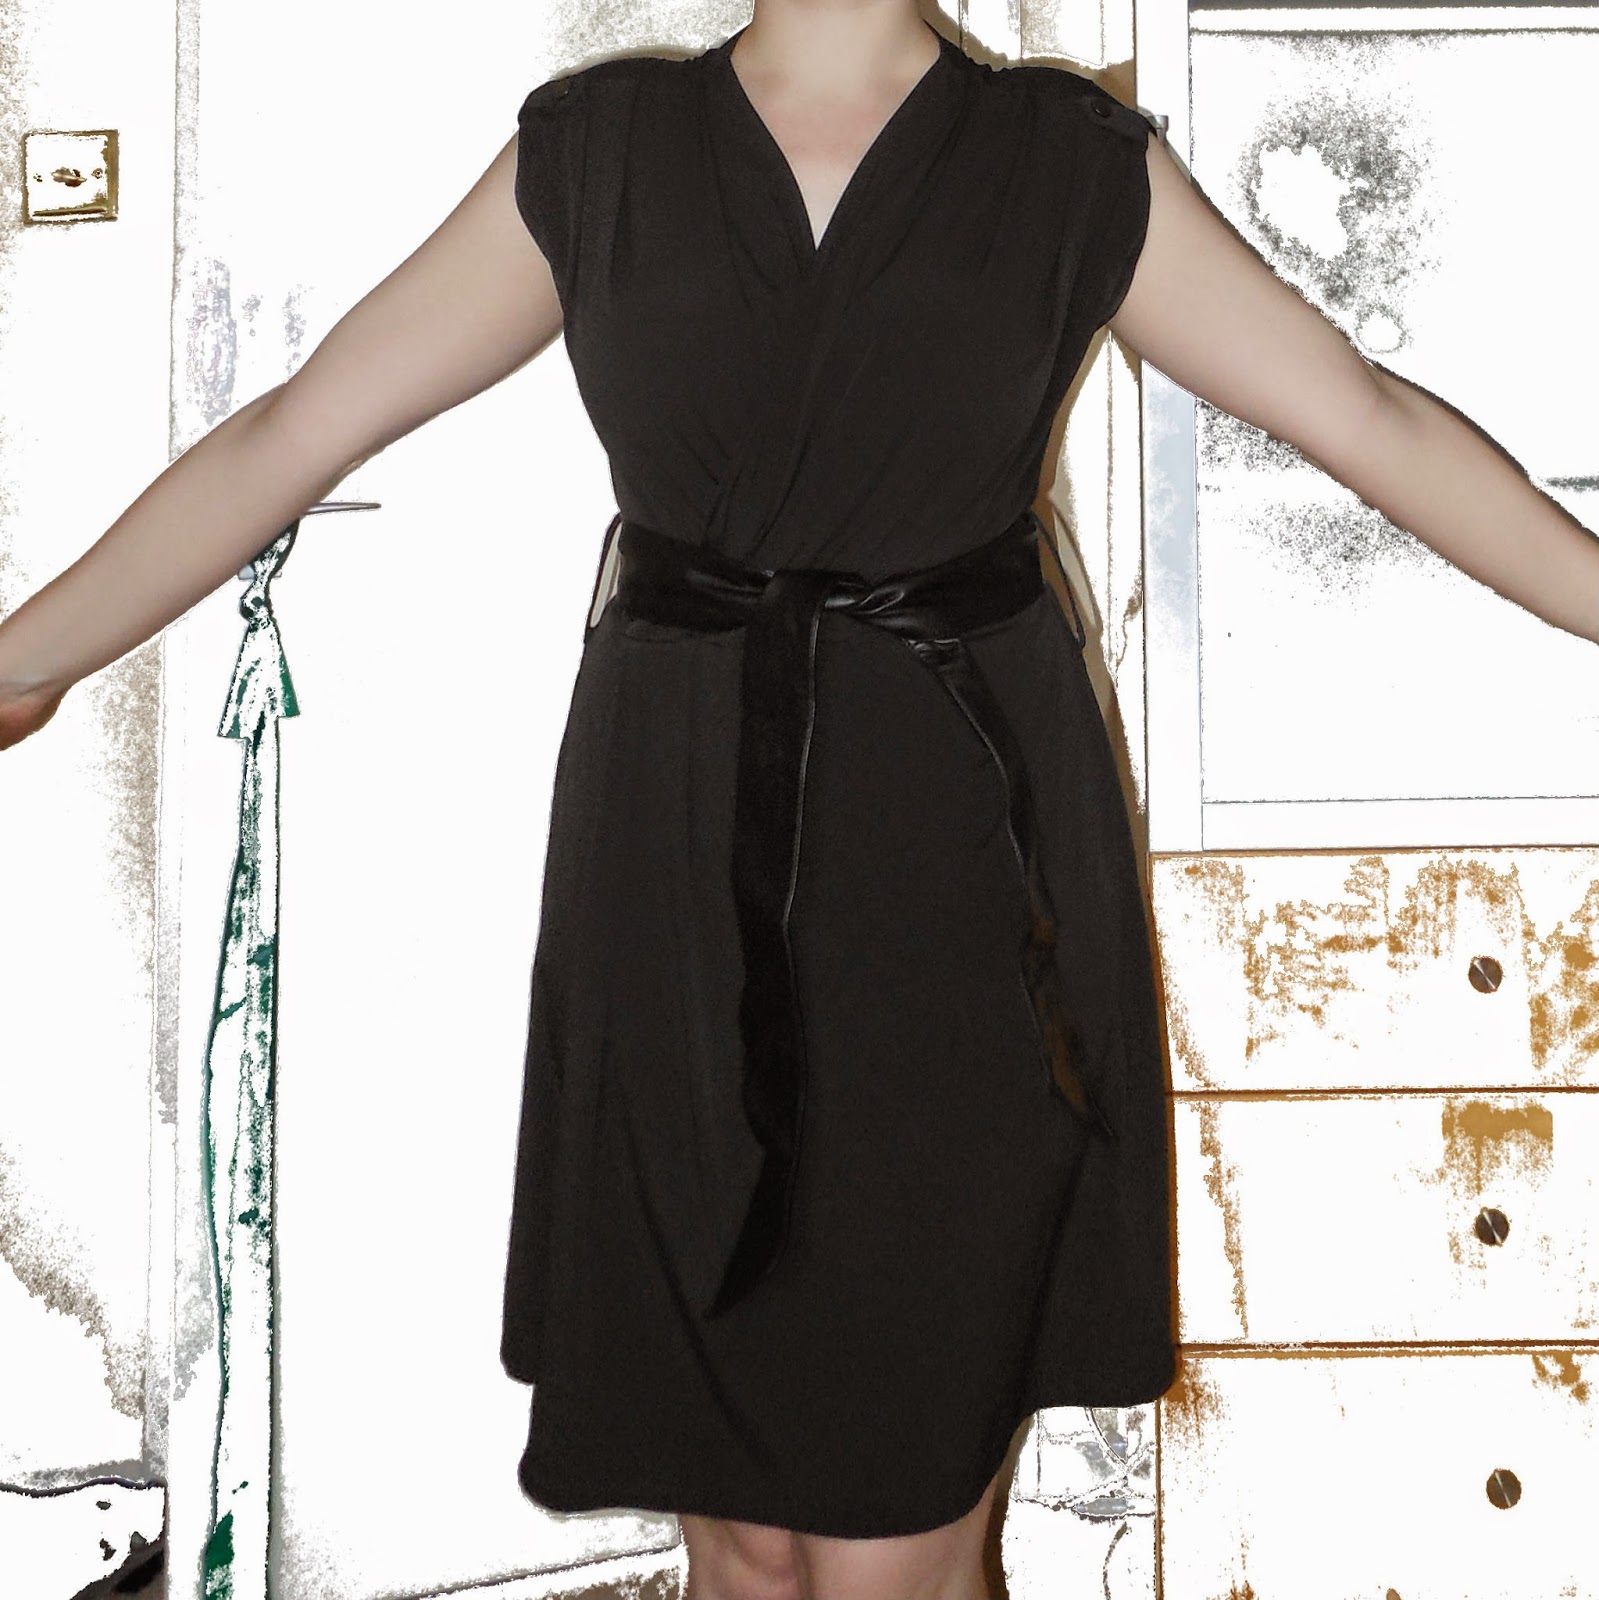
And here is the better fitting dress! (Sorry, more Boob Shots)


Overall, I could have gotten away with the dress as it was, but I wouldn't have been happy with the gaping at the side, showing off my underwear to all and sundry.
 
Taking into account my over-excited dancing style, I could probably even hide a sports bra under there... Hmmm...


Wednesday 23 July 2014

Amend: Pink Dress Waistband

I bought this dress from TK Maxx about four years ago, but haven't really worn it the last few. It had an empire line under the bust, which got a bit cake-layer-like in recent years.

 
I merrily unpicked the top and bottom, with the idea of putting a cream/white waistband in the middle. That was before I realised that each piece was actually gathered and elasticated, meaning suddenly the dress was HUGE and it wasn't going to be the simple job of just putting a straight waistband in.
 
 
 I cut out two strips of cream fabric, doubled-up to stop it going see-through. I felt that using just one strip of fabric, with a seam at the back, would make it very challenging to fit the piece between top and bottom. With two strips, I could adjust each side-seam to make it fit snuggly.


Normally I'm a pin-it-and-hope kinda girl, going straight from pins to sewing machine without bothering to tack it in place. But with the stretchy, slippery, multi-layered nature of this dress, I thought tacking would probably be recommended!
 
 
Tacking involves using running stitch and a contrasting thread to hold pieces together before you commit them to the sewing machine. It's better than pins because it holds the whole seam in place, but time-consuming to do. That said, combined with some CSI, this seemed to go in very quickly!


Once the first half was attached, I repeated the process for the bottom half. This gave me the desired waistband, but it was a lot wider than I needed or wanted it to be.

So I repeated a method used on another pink dress I wrote about. Clearly I have numerous badly fitting pink dresses - but not any more! I used shirring elastic to give the waistband some stretchy flexibility and to improve the fit.

 
I really LOVE the final results of this dress! The shirred waistband gives me back my waist, holds the dress nicely in place and the added length makes the dress a more manageable length.
 
Success, and another dress added back into the summer wardrobe!


Saturday 12 July 2014

Make: Invitation Video

It was 8pm on a Friday night.

The boyf was away on a stag weekend, so I had the flat to myself - an excellent time to invite the girls round!

Some people would've simply sent a FB message, but I decided to get a bit more creative...

Unfortunately I think you can only see this if we are FB friends, but let's have a go anyway!

CHECK IT OUT!

Be. There.

Tuesday 8 July 2014

Amend: Belt Loops

This is a dress from H&M, 100% polyester, that I've had for a few years. It came with a faux leather belt, although looks good with elasticated belt, too.


The problem is that it has some overly large belt loops. These are seemingly pointless - it's not like they're needed to hold the belt in place. Without the belt loops, it would also be possible to wear the dress without any belt at all.


This wasn't a fancy Amend, I simply used my unpicker to gently undo the stitches holding the two side and two back loops to the dress. Unfortunately this has left behind some slight stitch marks, although I'm hoping these will come out a bit when washed.


Wednesday 2 July 2014

Shop: New Knitting Bag

Somehow I ended up on the John Lewis haberdashery sale website and, I don't know how his happened, but a few days later, this arrived at my desk...


Oops.